Saturday 28 February 2015

The Cake and Bake Show Ticket Discount Event!


As you may know, if you are a regular Cakeyboi visitor, I love a food show. I have been going to the BBC Good Food Show for the past few years and even ended up appearing on stage at the last one in Glasgow, getting interviewed by the lovely Lotte Duncan all about my wee blog. Click here if you missed that!

So I was excited when I read that The Cake and Bake Show (in association with Neff) is coming to Scotland. For the first time the show, especially for cakeybois and gals is coming north of the border to the Royal Highland Centre in Edinburgh between 30 October and 1 November.


There are 4 events this year across the UK, in Harrogate, London, Manchester and Edinburgh, which all have a mix of live demos, expert classes, market stands, competitions for those who love turning on the oven and baking up a treat.


At the show will be baking stars, popular patisserie experts and cake decorators. There will be a super theatre where you can get demonstrations from your favourite stars and even get your cook books signed.

I, for one, am looking forward to the event and I’m also excited to be able to bring you a ticket discount if you book between now and 30 March 2015. This discount is for any of the 4 shows this year, and gives you £3 off full price adult tickets. Just quote CAKE36 when purchasing to receive your discount! Pop over to the website now to book...
  
Ticket offer t&cs- Offer valid on Adult full price advance tickets only. Offer ends 30.03.15. Ticket terms and conditions apply. Information correct at time of print.


Disclosure Statement: I have not been paid to host this ticket discount.

Thursday 26 February 2015

Cake Club goes to the Oscars (almost!)


It had been a wee while since we last had a Clandestine Cake Club get-together. So our next meet was definitely overdue. It was held on the evening of Sunday 22 February, which just so happened to be the same night as the annual Academy Awards, AKA the Oscars.


 And as you might have guessed from the tile of this post, the theme was ‘The Oscars’. Which stumped a few, certainly Jac my co-host, who backed up the Oscars theme with ‘or just indulgent!’.

But most folk came up with great ideas for the event. We held it in Laing’s bar in Dundee, on Roseangle (which boasts the best beer garden in Dundee). I hadn’t been there for a good while, nor had a lot of the others attending the Cake Club and we were all pleasantly surprised.

courtesy of Laings
 It had been done up and the ambience was perfect for the Cake Club in the little conservatory bit behind the bar, where we were. Had it been daylight we would have had cracking views along the River Tay, but sadly it was February night time, so the sky was dark.


 But our mood wasn’t darkened after munching on all the cake on offer. We had a Rocky ‘Balboa’ Road Cake, a honey and camomile cake decorated with a gold Oscar painted on top of the frosting. I made a bag of over-spilling popcorn cake, and we had a chocolate and raspberry cake decorated like a clapperboard. One of the highlights was a marmalade cake, decorated like a fancy bustier, with two rather large mounds protruding!


 After we had an initial chow down on the cake, we then started our CCC quiz. That’s right, quiz. Jac decided that we should have a quiz to get folk mingling and thinking, whilst digesting!


We had 4 categories – Oscars, which Disneyboi helped with. I came up with a bread/pasty section and a dessert/cake section too. And Jac came up with a section on Dundee. 40 questions in total.

Folks teamed up and Jac kindly read out the questions ( my voice is way too quiet and doesn’t carry well!). I think we made the questions a bit too hard, but everyone seemed to have fun coming up with their answers.

And before long, the quiz was over (cook-books for the winning team) and the evening was over.


 I love the cake club and hope it runs for a long time. Its great to meet like minded bakers and try loads of new cakes.


A big thanks goes to our venue, Laings, who provided us with plates, forks and napkins. The event went with a swing and we are already thinking about the next one!


Monday 23 February 2015

Chorizo and Spinach Quick Bread

spinach and chorizo quick bread

What is a quick bread? Well, it’s not really a bread that we normally think of!

No more than banana bread is actually bread. No yeast involved. I know you don’t need to have yeast for bread, but that’s pretty much how we eat it these days.

Quick breads, I think are more like a cake, sweet or savoury. This chorizo and spinach quick bread is a simple throw together affair, with lots of things you probably have in the fridge or cupboard and could cobble together in no time.


Flavours come from caramelized onions, done slowly to bring out all the flavour, chorizo sausage, the oil drained from that is used as part of the fat in the recipe. Spinach, wilted down and stirred through gives a nice fresh kick to the bread. That, plus parmesan cheese, Italian seasoning and some lemon zest – there are tons of flavours to get your taste buds having a party!!


I baked the batter in a loaf pan and it came out all lovely and golden brown on top. You have to allow it cool fully, as it is a very moist bake and needs time to set up. Even then, a good sharp serrated knife is needed to slice through it without too much crumbling.

All my tasters loved the bread. The flavours go so well together and is perfect for those who like a strong savoury punch.


Here’s how I made it…

Chorizo and Spinach Quick Bread


Thumbnail Url A flavour packed loaf of spicy spanish sausage and spinach
Adapted from Food Network
Cuisine: Savoury Category: Bread Yields: 1 small loaf
Prep Time: Cook Time: Total Time:


Ingredients
  • 2 medium red onions, sliced finely
  • 1-2 teaspoons olive oil
  • 180 ml sour cream
  • 125 ml veg oil/chorizo oil combo
  • 2 medium eggs
  • 175 grams plain flour
  • 125 grams grated parmesan cheese
  • 1 tablespoon granulated sugar
  • 2 teaspoons Italian Seasoning
  • 1 ½ teaspoon baking powder
  • 1 teaspoon lemon zest
  • ½ teaspoon salt
  • ½ teaspoon black pepper
  • ¼ teaspoon bicarbonate of soda
  • 120 grams spinach
  • 100 grams diced chorizo sausage
Instructions
  1. Line a loaf tin with greaseproof paper, grease that and pre-heat the oven to 180C.
  2. In a large frying pan, slowly fry the onions in the olive oil over a medium heat for half an hour making sure they don’t burn but get nice and dark and caramelized. Remove from the pan and wilt the spinach, in the same pan, until reduced in size and drain on a paper towel.
  3. In a dry small frying pan, fry the diced chorizo until the fat has rendered from it. Drain off the fat into a small measuring jug and add vegetable oil up to the 125 ml mark. Let it cool.
  4. Keep the onions, spinach and chorizo aside for now.
  5. In a bowl whisk together the sour cream, the cooled oil and the eggs.
  6. In a separate bowl, whisk together the flour, parmesan, sugar, Italian seasoning, baking powder, lemon zest, salt, pepper and bicarb. Pour in the wet mix and stir until combined.
  7. Add the onions, spinach and chorizo and stir through.
  8. Transfer to the prepared loaf tin and bake in the pre-heated oven for 45 to 50 minutes or until a skewer comes out clean from the centre.
  9. Allow to cool fully in the pan. Remove and cut into slices to enjoy.


I am entering my quick bread in August's Treat Petite as the theme is The Great British Bake Off and they made quick breads this year. Kat at The Baking Explorer is hosting this month.


Saturday 21 February 2015

It's a Wrap Folks!


Having a brand identity is, I feel, very important. People see your brand and instantly identify it with your product or service. Take the Coca Cola logo – everyone in the world knows what it is, even if they can’t read English. I have a bit of an obsession with brands. I love it when products get an updated logo (sad I know) and I have even been to the Museum of Brands in London. Founded by Robert Opie, the museum has packaging and advertising of consumer products from the 1890’s onwards. It’s now one of the top ten attractions in the capital.

At university I studied marketing and product management which probably ties in with that somewhat. It annoys me when I see new business open up around me and they have no ‘look’. All it takes is a font, to get started really.

 When I started my blog, I was keen to have a brand identity and the look of the blog has evolved a wee bit since it started, to a point where I think my banner, font and the colours are now identifiable with Cakeyboi.

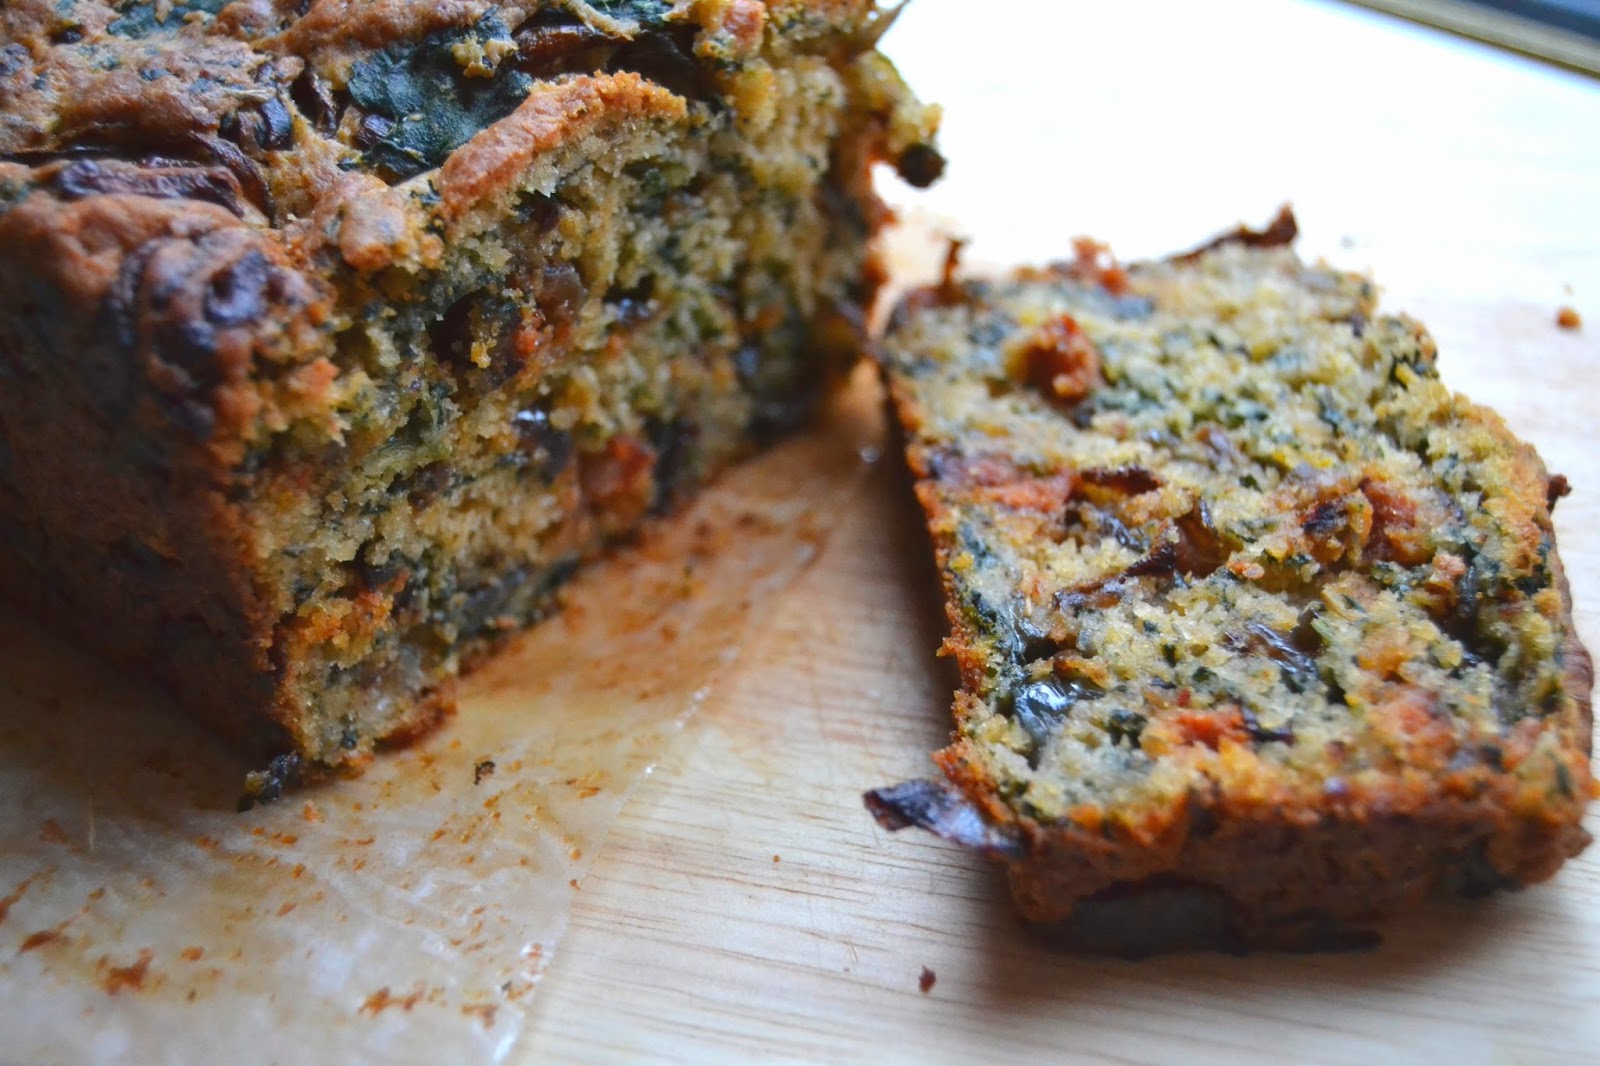
As you know, I bake a LOT. If we have ever met personally, it’s a fair bet that I have brought you some of my confections to try. So, when ‘It’s A Wrap’ got in touch to see if I would like to try their services I jumped at the chance.


It’s A Wrap’ print environmentally friendly, customisable greaseproof paper for food. You can send them your logo and they will print it onto biodegradable greaseproof paper. You can have a full colour design if you like, printed in vegetable based inks. They can trim sheets to your required size and if buying wholesale, offer a free design service.


I was kindly offered 1000 sheets (the minimum order they take) with my own design. I sent off some images of my logo and the company helped me to come up with a design I was really happy with. The design is in a blue tone (pantone 2945!) that features on the blog. People who know my obsession with the colour orange will wonder why I didn’t go for that, but I felt the blue stood out more. I could have gone for multi-colours, but I liked the blue on it’s own.


I placed my order and in around 10 days my bundle of paper arrived. I loved it. Perfect for wrapping up my baked goods and handing them out. Plus people will see the name and know what’s inside came from me, spreading the word of the blog.


If you are a food business, why not invest in printed greaseproof paper from ‘It’s A Wrap’? It really adds that little bit of professionalism to your product rather than basic plain sheets of greaseproof. You are also safe in the knowledge that ‘It’s A Wrap’ is a member of the FPA (Food Packaging Association).

Pop over to the website and take a look. You can enquire about prices and get an idea of what your brand could look like all wrapped up!

I loved the helpful and quick service from ‘It’s A Wrap’ (a trademark of JR Press) and would certainly recommend them to anyone who is considering using them. And I do mean anyone as they deliver globally!


'It's A Wrap' also cater for non food related luxury wrap for retail. Also customisable, the luxury wrap is perfect for goods such as clothing, soaps, jewellery, candles, you name it.


I will be using my paper in some future images on the blog, to get you inspired!


Disclosure Statement: I received the printed greaseproof paper free to review and I was not expected to write a positive review. Any opinions expressed are entirely my own.

some images courtesy of itsa-wrap.co.uk

Thursday 19 February 2015

London Fog Chiffon Cake

earl grey tea and vanilla cake

Remember London Fog? Not the weather phenomenon in the UK’s capital, rather the hot beverage which was apparently conceived in Canada.

It’s a steamed, milky earl grey tea with sweet vanilla syrup added. Disneyboi loves it especially and has it quite often in our local Starbucks. (I’ve made it here on the blog before, check out my recipe).

earl grey tea and vanilla cake

So when I was thinking what I could make him for Valentine’s weekend, I decided to incorporate those flavours into a cake. I saw a cake online at Hummingbird High and decided to adapt that. (It in turn was adapted from a cake in a book called ‘Easy Gourmet’).

The cake was like a chiffon cake, light and fluffy as it had egg whites incorporated into the mix. It had all the flavours of earl grey tea and vanilla in the sponge. To get that earl grey flavour in there, I soaked some tea bags overnight and got a very bergamot infused solution the following morning. I knew the flavours were going to pack a punch.

earl grey tea and vanilla cake

I also made a ‘Very Vanilla Whipped Cream’ to serve on top. I also sprinkled some lemon zest over the top of the cream, to compliment the citrusy notes in the cake.


Well, Valentine ’s Day came and guess who was ill in bed all day? Yes, Disneyboi. The cake wasn’t touched until the following day and he only managed a small piece, but he assured me he did like it.


(A wee tip too – I made loads of cream, too much for just the cake and my pancakes in the last post. So I froze dollops of the cream on a baking tray and when solid, popped them into a freezer bag. Pop them on top of some hot cocoa and they melt slowly into the drink!)


earl grey tea and vanilla cake

And do you like my Cakeyboi greaseproof wrap in the pictures? Well, check out my next post to find out all about that…


Here’s how I made the cake…

London Fog Chiffon Cake


Thumbnail Url Light and airy cake flavoured with early grey tea and vanilla
Cuisine: Dessert Category: Cake Yields: 9" Cake
Prep Time: Cook Time: Total Time:


Ingredients
  • 4 Earl Grey tea bags
  • 250 ml boiling water
  • 5 egg yolks
  • 4 egg whites
  • 115 grams granulated sugar
  • 80ml vegetable oil
  • 2 teaspoons vanilla extract
  • ½ teaspoon salt
  • 135 grams plain flour
  • ¾ teaspoon baking powder
  • 400 ml double cream
  • 3 tablespoons icing sugar
  • Seeds of half a vanilla pod
  • 1 teaspoon lemon zest
 
Instructions
  1. Soak 3 of the tea bags in 250 ml of boiling water and leave until cool, or overnight.
  2. Remove the teabags and squeeze out the excess liquid.
  3. In a bowl, whisk together the egg yolks and two tablespoons of the granulated sugar until light and creamy. Slowly add the vegetable oil and whisk until incorporated. Add 185ml of the cooled tea and whisk this in also. Add the vanilla extract and salt and beat this in. Add the flour and baking powder and gently mix this in. Set the bowl aside.
  4. Preheat the oven to 180C and line a 9” cake tin with greaseproof paper and lightly grease the sides of the tin.
  5. Whisk the egg whites in a mixer until foamy then add the remaining granulated sugar slowly, until you get stiff peaks and you have a thick glossy meringue mix.
  6. Add one third of the beaten egg whites to the cake batter and mix in. Add another third and carefully fold this in then the last third, mixing that in gently too.
  7. Transfer the mix to the cake tin and bake in the oven for 30 to 35 minutes. When a toothpick comes out clean from the centre, it is ready.
  8. Allow to cool fully in the tin, before taking a knife and running around the edges to loosen the cake.
  9. To make the cream, beat it with the icing sugar and vanilla seeds until thick. Spread on top of the cake and sprinkle with the lemon zest.
  10. Serve with a cup of earl grey tea.


Disclosure Statement: Printed greaseproof paper courtesy of It's A Wrap. I was not paid to promote their services and received the paper for free.

Monday 16 February 2015

Vanilla Latte Pancakes

vanilla latte pancakes

Call it what you will, Shrove Tuesday, Pancake Day even Mardi Gras in some quarters of the world – I love the day before Ash Wednesday. I’m not religious at all, and I know there all sorts of connotations about filling up before Lent starts – but I seriously just love pancakes!

And I try to add a little flavour to them when I can. This Pancake Day will be no exception, as I have practised mine this very weekend. They are perfect for anyone who has a Starbucks addiction like myself.

vanilla latte pancakes

These Vanilla Latte Pancakes are an easy variation on my Scotch Pancakes I made a couple of years back. I simply added the seeds from half a vanilla pod to the mix and a stick of instant coffee. The flavours of the vanilla and coffee add a good caffeine hit to your brekkie.

I served mine with some Very Vanilla Whipped Cream which you can read about in my next post which happens to be based around another drink which your local barista can serve up. This is a perfect accompaniment for pancakes and is something you might even have on a latte.

vanilla latte pancakes

Anyway, back to the Pancakes! Give them a try for breakfast and you will love the flavour. The double hit of caffeine if you have them with a cuppa joe, or as I would recommend – have them with a cup of tea – that way you can taste the coffee in them even more!

Vanilla Latte Pancakes


Thumbnail Url Pancakes that taste like a cuppa joe!
Cuisine: breakfast Category: pancakes Yields: 8-10
Prep Time: Cook Time: Total Time:
 

Ingredients
  • ½ teaspoon white vinegar
  • 150 ml milk
  • 110 grams plain flour
  • ½ teaspoon bicarbonate of soda
  • 1 egg
  • 1 tablespoon vegetable oil
  • 1 tablespoon golden syrup
  • 1 stick of strong instant coffee (or 2 grams)
  • Seeds of half a vanilla pod (or use 2 teaspoons of vanilla extract)
 
Instructions
  1. Place the vinegar and milk together in a glass and leave to stand for a few minutes
  2. In a bowl whisk together the flour and bicarb
  3. In a jug whisk together the egg, oil, syrup then add the milk mix. Add the coffee granules and stir until combined
  4. Add the wet mix to the dry and stir together just until the flour has been absorbed. A few lumps are fine
  5. Add the vanilla and stir through
  6. Heat a frying pan over medium heat and coat with a little vegetable oil
  7. Add about a large dessert spoonful of batter to the pan
  8. When bubbles appear on top of the pancake, flip it over and cook for another minute or so on the other side.
  9. Serve the pancakes fresh with some whipped cream, or some syrup 

Saturday 14 February 2015

Valentines Ideas!

Happy Valentine's Y'all! Here are some ideas to get you in the mood (if you aren't all trotting off to the cinema to see '50 Shades...'!) click on the image to enlarge....


Disclosure Statement: I was sent the infographic free and was not paid to post it.

Thursday 12 February 2015

The Make Pack Giveaway!


Recently, a company called The Make Pack contacted me to see if I would like to give one of their ‘Make Packs’ a try.


A Make Pack, available to order via their website,  is a box, containing all the ingredients you need to make something delicious. They provide you with everything measured out, give you the instructions but let you do the fun part of actually making your sweet creation.


And there are loads of Make Packs to choose from. They include – a triple layer chocolate fudge cake, white chocolate cupcakes with chai butter cream, lemon marshmallows with toasted coconut, salted toffee with chocolate and hazelnut, even spelt bread loaves. That’s not all, so pop over to website and take a look.

I opted for the lemon marshmallows rolled in toasted coconut option. I opened my Make Pack to find the individual ingredients in separate bags, pots and bottles. All numbered too.


The instructions were wrapped around the box and clearly explained each step to make my marshmallows, which is where the numbered packs were all explained. A bit like baking by numbers.

I have made my own marshmallows before, and this was not too daunting a task for me. If you have a sugar thermometer and a food mixer this would be a cinch for you. The marshmallows were delicious and fairly easy to whip up.


Make Packs are a great gift idea for a foodie friend, or if you are perhaps not too confident in the kitchen but want to make something impressive. They start at £9.95 for a box, up to £16.45 for the Chocolate Fudge Cake or Hazelnut Cake. They even sell bags, tags and ties to gussy up your creation, if  you are gifting it.


And two lucky Cakeyboi visitors get a chance to win a Make Pack of their choice! Simply by entering via the Rafflecopter thingamajig below, two winners get to choose which Make Pack they would like to be sent in the post. The giveaway is open to UK residents only and closes on midnight on the 26 February 2015 – good luck everyone!

a Rafflecopter giveaway

Disclosure Statement: I received a Make Pack free to review. I have not been paid to write about the product or to run the giveaway. Any opinions expressed are my own.

Monday 9 February 2015

Raspberry Mint Chip Blondies

raspberry mint chip blondies

These Raspberry Mint Chip Blondies are my contribution to Valentine’s Day this year!

I wanted something pink and tasty. I had some frozen raspberries in the freezer and I started to invent. I had some mint chips too, which I picked up on my recent trip to London and thought that raspberries and mint would be a nice combination together (there is probably a cocktail in there somewhere!).

I mashed up the frozen rasps and combined them with the usual cakey ingredients – butter, sugar, eggs and flour, popped in the chips and baked for 18 minutes.


The result? A bar on a par with a blondie. Dense and fudgy in the middle, but with all the taste of raspberry jam. The addition of mint was a fresh note against the sweetness of the bar.


raspberry mint chip blondies

I made a simple icing to drizzle over the top too, which really stood out against the pink and green colours of the blondies.

They are really easy to make, so why not try whipping up a batch for your loved one this Valentine’s Day? The mint chips are entirely optional and the mix would be fine without, or white chocolate chips would be lovely too.

I would recommend using thawed frozen rasps as opposed to fresh, as they seem to have more liquid content to them, which worked in this recipe.

raspberry mint chip blondies

If you are in the UK, you can get the mint chips easily online, or in some stores that carry American produce (they are made by Guittard, have a wee Google).

Here's how I made them...

Raspberry Mint Chip Blondies


Thumbnail Url blondies which taste just like raspberry jam - with a wee hint of mint!
Cuisine: dessert Category: blondie Yields: 16 squares
Prep Time: Cook Time: Total Time:
 
Ingredients
  • 150 grams frozen raspberries, thawed
  • 100 grams unsalted butter, melted
  • 220 grams sugar
  • 125 grams plain flour
  • 1 teaspoon vanilla extract
  • 1 large egg
  • 100 grams mint chips
  • 50 grams icing sugar
  • 1-2 teaspoon water
 
Instructions
  1. Line a 9”x9” tin with greaseproof paper and preheat the oven to 180C.
  2. In a bowl mash the frozen raspberries until almost all liquid.
  3. In a separate bowl, mix the melted butter with the sugar. Add the egg and stir through. Add the vanilla and raspberry mush and combine.
  4. Add the flour and stir until mixed in and finish with the mint chips.
  5. Pour into the prepared tin and bake into the oven for 18 minutes.
  6. Allow to cool fully before cutting into 16 squares. Make the icing by combining the icing sugar and water until you get a drizzling consistency and drizzle over the squares.
  7. Allow the icing to set before digging in.


I am entering these into this month’s Alphabakes, hosted alternately between Caroline Makes this month and Ros at The More ThanOccasional Baker. The letter is V, and as these are for Valentine’s – perfect.


Likewise, I am entering them into Treat Petite, hosted this month by my pal Kat at The Baking Explorer. The theme is ‘Love is in the Air’ and Kat wanted anything red, pink, hearts, that sort of thing. So these blondies definitely fit the bill!

Saturday 7 February 2015

Cheesy Peanut Butter Fudge

cheddar cheese and peanut butter fudge

Stick with me on this one, honestly!

Cheese and peanut butter may seem like a strange combination to some, I agree. I remember however, when on holiday to America a few years back trying cheesy crackers which had a peanut butter filling. I loved the flavours together – difficult to describe, but they complimented each other really well.

cheddar cheese and peanut butter fudge

I had a wee look around the internet, as I planned to try and make some crackers myself, but then I happened upon Peanut Butter and Cheese Fudge. Unsurprisingly an American recipe, it used a cheese called 'Velveeta' which apparently melts easily. We don’t get that particular brand of cheese in this country and I wondered if the recipe might work with a British substitution.

I went for a spreadable cheddar, which was ‘seriously strong’ in flavour. The recipe calls for butter and the cheese to be melted together, peanut butter to be melted in, then some nuts added before mixing it all with icing sugar.


No baking required, the mix is then refrigerated until firm. And the resultant taste was delicious. Seriously creamy, nutty, a bit salty and a bit cheesy – but not in a horrible way!

cheddar cheese and peanut butter fudge

If you are wanting an easy to make fudge recipe, which will certainly get people talking, and scoffing – give this a go!

Cheesy Peanut Butter Fudge


Thumbnail Url Fudge made from soft cheddar cheese and peanut butter
Adapted from www.foodnetwork.com
Cuisine: Treat Category: Fudge Yields: 9"x9" slab
Prep Time: Chill Time: Total Time:


Ingredients
  • 225 grams unsalted butter
  • 225 grams spreadable cheddar cheese (I used ‘Seriously Strong’ brand)
  • 250 grams smooth peanut butter
  • 1 teaspoon vanilla extract
  • 125 grams walnuts, chopped
  • 500 grams icing sugar
 
Instructions
  1. In a large saucepan, over medium heat, melt the butter and cheese together. Add the peanut butter and stir until incorporated into the mix. Don’t worry if it goes a bit lumpy, it will smooth out.
  2. Add the vanilla and nuts and stir in.
  3. Place the icing sugar in the bowl of a mixer and then pour the cheesy peanut butter mix over the top.
  4. With the beater attachment, blend until the mix is smooth and thick. Pour into a 9”x9” baking tin, lined with foil.
  5. Place into the fridge to set, for at least 4 hours, I left mine overnight.
  6. When set, invert the pan onto a chopping board, carefully peel off the foil and cut into squares.  I lost count of how many I got – at least 36!
  7. Keep refrigerated until you eat them, as they do go soft.