We've reached X in the alphabet and as you can imagine, this was a tricky one!
But we all have mishaps in the kitchen where we let out a little expletive or two! Of course, Cakeyboi is no exception...
Saturday, 6 July 2013
Thursday, 4 July 2013
Renshaws Royal Baby Cake Comp
I was recently contacted by the kind people at Renshaw asking if I would like to enter a competition they are running. When I said
‘yes’, they sent me a goodie box of their icing and marzipan, which they specialise in.
The competition is to make a cake, using at least one of the
ingredients in the box supplied, and the cake is to celebrate the imminent
birth of the Royal Baby. I always say that I am not a cake decorator, but I do
like to set myself a challenge. I won’t tell you what the prize is as I don’t
want to jinx my chances!!
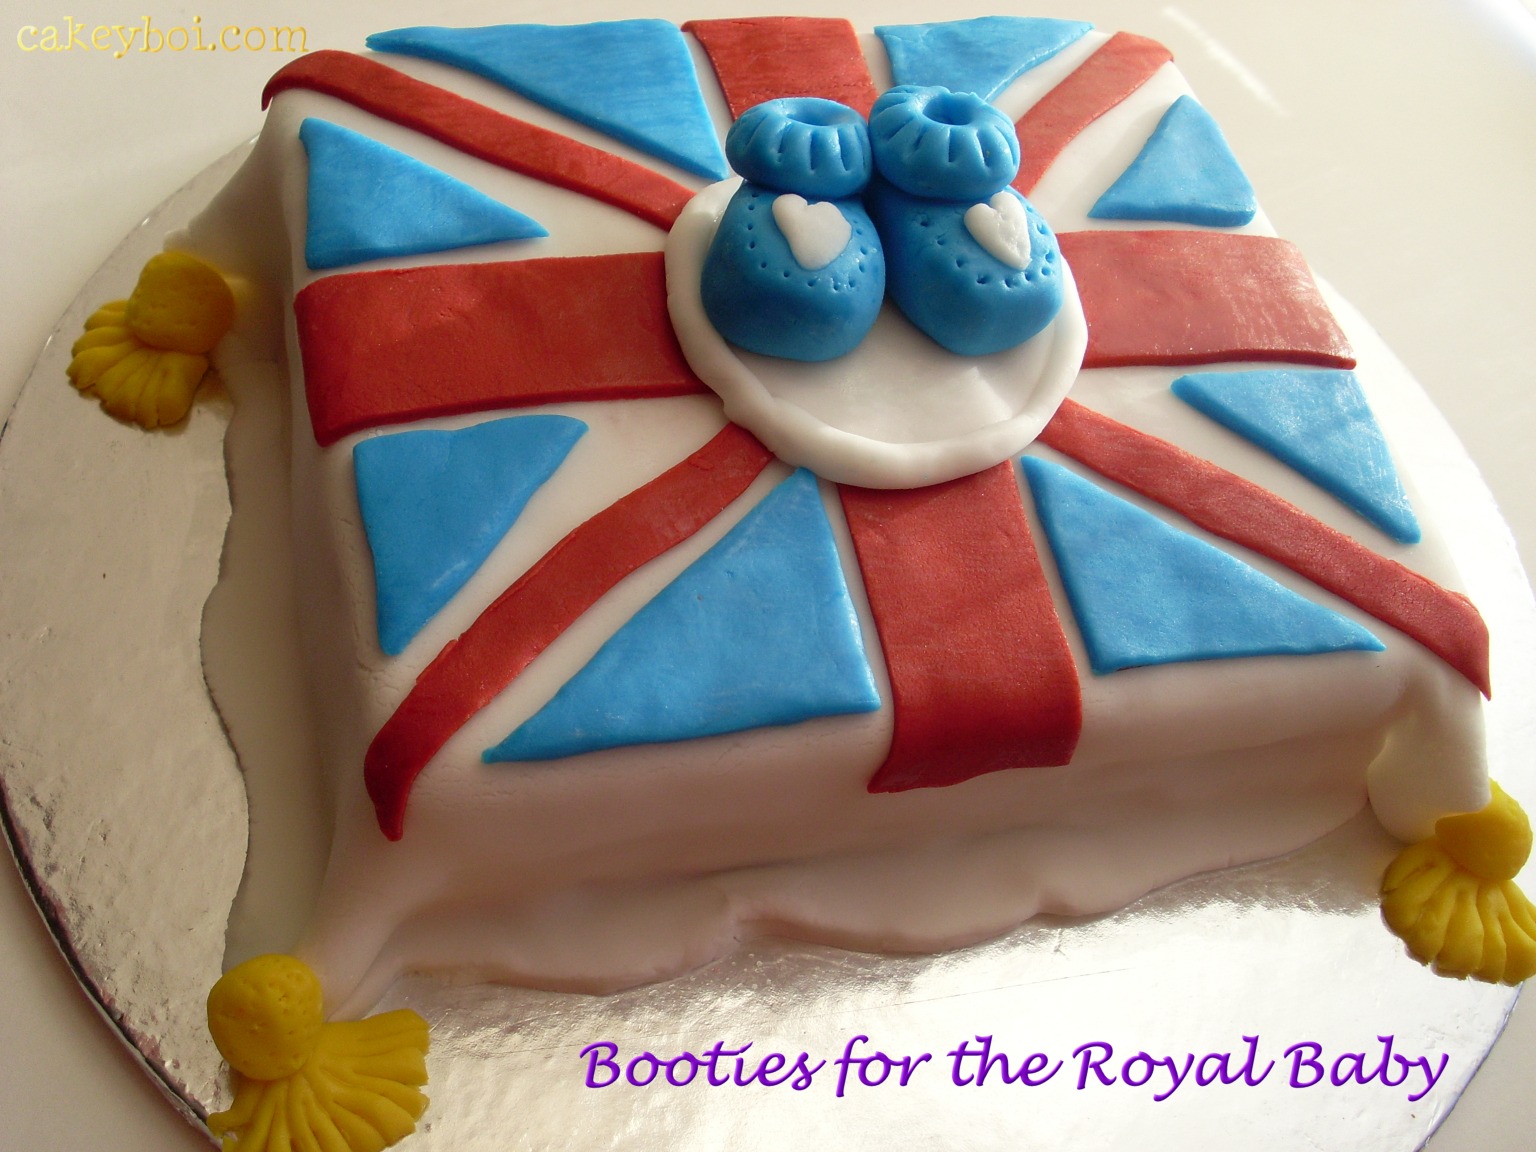
I decided to make a cake that looked like a cushion draped
with the Union Jack and upon that a pair of baby booties. Now, looking at the
picture above and below, it looks as if I have already decided that the baby will be a
boy. In reality, I thought the blue looked better next to the Union Jack!
The cake is simple vanilla, which I have filled with
blackberry jam. I then brushed the cake with melted lime curd that would allow
the icing to stick when placed on top. Of course you could use whatever jams
and curds you like. Here’s the cake recipe:
Ingredients:
200 grams plain flour, sifted
½ teaspoon baking powder
200 grams unsalted butter, softened
200 grams granulated sugar
4 eggs
1 teaspoon vanilla extract
1 tablespoon milk
Method:
Pre-heat your oven to 180oC. Line a 9”x13” baking
pan with greaseproof paper and grease the paper. Place all of the ingredients
in a mixing bowl and beat until the mixture is smooth and pale and golden in
colour.
Transfer the cake batter to the baking pan and spread out to
an even level. Pop into the oven for 20 minutes, or until a toothpick comes out
clean from the centre. Leave in the pan for 10 minutes, before removing and
allowing to cool fully on a cooling rack.
When cooled, cut the rectangular cake down the middle, to
give you two smaller rectangles. Taking a jam of your choice, dollop a good few
tablespoons on one half, spreading out. Place the other half of the cake on
top.
This is where I rolled out the Renshaw white icing, ready to
cover the cake. I used lime curd, heated in the microwave a little, to spread
over the cake. I then placed the white icing on top, using a rolling pin to
help me.
I rolled out red and blue Renshaw icing, cutting shapes to
form the Union Jack and I made little tassels from yellow icing. I formed
little booties from more blue icing, and little hearts from leftover white.
You can see the result in the pictures above. I like to call
the cake ‘Booties for Britain’. I hope the folks at Renshaw like the finished
article, fingers crossed I am in with a chance of winning. Oh yes, and all the
best to Kate and Wills on the forthcoming event!
Disclosure Statement: I received the Renshaw products free
to use. I have not been paid for this post. Any opinions expressed are my own.
Wednesday, 3 July 2013
Monday, 1 July 2013
Red White and Blue Sandwich Cookies

I’m having to write this post very quickly!
My internet connection here at home is being a bit
temperamental and this is the first chance I have had to connect today…so here
we go!
It’s coming up for the 4th July (cannot believe
that we are so far into the year) and 4th July in the States is of
course Independence Day. Being a ‘bit’ of a Yankophile at heart, I love to look
at all the red white and blue themed parties, decorations and goodies in the
magazines. Americans really know how to do celebrations well.
Last year I made mini apple pies on sticks for Independence
Day. This year, I thought I would go all out with the colour and make red white
and blue sandwich cookies. If you are squeamish about food colourings – look
away. There are some colourants in these as you can probably tell. The centre
of the cookies, is an idea I pinched when watching Anna Olson make homemade
Oreos on her TV show. The white stuff is simply rolled out sugar fondant icing.
It tastes lovely with the cookies, which are a texture somewhere between soft
cookies and whoopie pies. Very delicious and here is how I made them.
Yield: approx 14 sandwich cookies
Ingredients:
300 grams plain flour
¼ teaspoon baking powder
½ teaspoon salt
225 grams unsalted butter, softened
30 grams granulated sugar
2 large eggs
2 teaspoons vanilla extract
Red food colouring
Blue Food colouring
Block of white fondant icing
Adapted from Just a Taste
Method:
Pre-heat the oven to 160oC. Line a couple of
cookie sheets with greaseproof paper. In a bowl sift together the flour, salt
and baking powder and set aside.
In a mixer, beat together the butter and sugar until light
and fluffy in colour. Next add the eggs, one at a time, beating between each
addition. Add the vanilla and mix this through too. Lastly mix in the flour,
combing just until no streaks of white can be seen.
Separate the cookie dough into two equal amounts. Colour one
half red, the other blue. The amount you use will depend on whether you are
using liquid or gel, and how deep a colour you want. When they have been
coloured, wrap the dough in clingfilm and pop both of them into the fridge for
about 30 minutes, to firm up slightly.
After the 30 minutes, break off pieces of dough roll into
balls about an inch in diameter. Flatten slightly and place on to the cookie
sheets, leaving space between each one as they do spread when baking. Pop into
the oven for 10 minutes, keeping an eye on them, you don’t want them to brown
on the edges if you can help it.
Remove from the oven and allow them to cool completely.
Match red and blue cookies up going by size. As they spread in the oven, they
are all a little different in size. Next roll out the icing (thickness is up to
you) and cut circles with a cookie cutter the correct size for the cookies.
Spread each side of the fondant discs with a little water before placing a
cookie either side and pressing together lightly. The water makes the icing
stick to the cookies.
And there you have red white and blue sandwich cookies
perfect for any Independence Day party. Of course, you could change the
colours up for whatever festivity you are celebrating. Pastel shades would be
nice for Easter, red and green cookies for Christmas. Happy baking!
Now off to see about my broadband – grrr!
Saturday, 29 June 2013
The Cakeyboi Alphabet - W
Almost at the end - this week W for Whipped...
Whipping in culinary terms is the process of beating
something to incorporate air and therefore increase volume. Egg whites are a
good example of this, as they are beaten they increase volume greatly and hold
stiff peaks. Another example is cream. And did you know adding sugar and
vanilla to whipped cream, gives it another name – Chantilly cream!
Thursday, 27 June 2013
Ice Cream Heaven in NYC
It was my plan to eat ice cream at least once a day whilst
in New York, but the weather really put paid to that plan sadly.
But I was determined to visit a couple of Ice Cream
‘Parlours’ whilst we were there.
The first one we did visit was the ‘Cold Stone Creamery’. Not
many people my side of the pond will be familiar with the Creamery, but they
are famous for lots of ice cream flavours and unlimited mix-ins which they
incorporate into your chosen flavour, right in front of your eyes. In New York,
the Cold Stone Creamery is tucked away in a unit, shared with a Tim Horton’s
coffee shop. Just off Broadway and Times Square. It was a very busy Saturday
afternoon, and the crowds were horrendous. Disneyboi spotted the store before I
did and in we popped.
There were so many flavours to choose from, cookie dough,
caramel latte, bubblegum, cinnamon to name but a very few. However, I chose
cake batter flavour, which is becoming a bit of a favourite of mine. And to
mix-in to this I chose cherry pie filling, rainbow sprinkles and gummi bears.
There are tons of other mix-ins I could have had, candy bars, fruit, but I was
happy with the resulting flavour. Disneyboi chose Oreo Cookie flavour
ice-cream, and before you knew it he was handed a pot of the ice cream and not
asked if he wanted any mix-ins. He was disappointed and we were confused.
Still, we popped out onto the sidewalk to eat them and he had some of mine. I
enjoyed it, and will go back on my next visit!
The other ice cream shop I had been dying to try was the
‘Big Gay Ice Cream Shop’, which I had seen on Food Network a couple times. We
struggled to find the store, but eventually did, walking through near monsoon
conditions (see pic below) and with Disneyboi’s feet literally bleeding. I apologise to him
now, in front of you all, for dragging him there.
However, we both agreed it was worth the trek to the very east side of
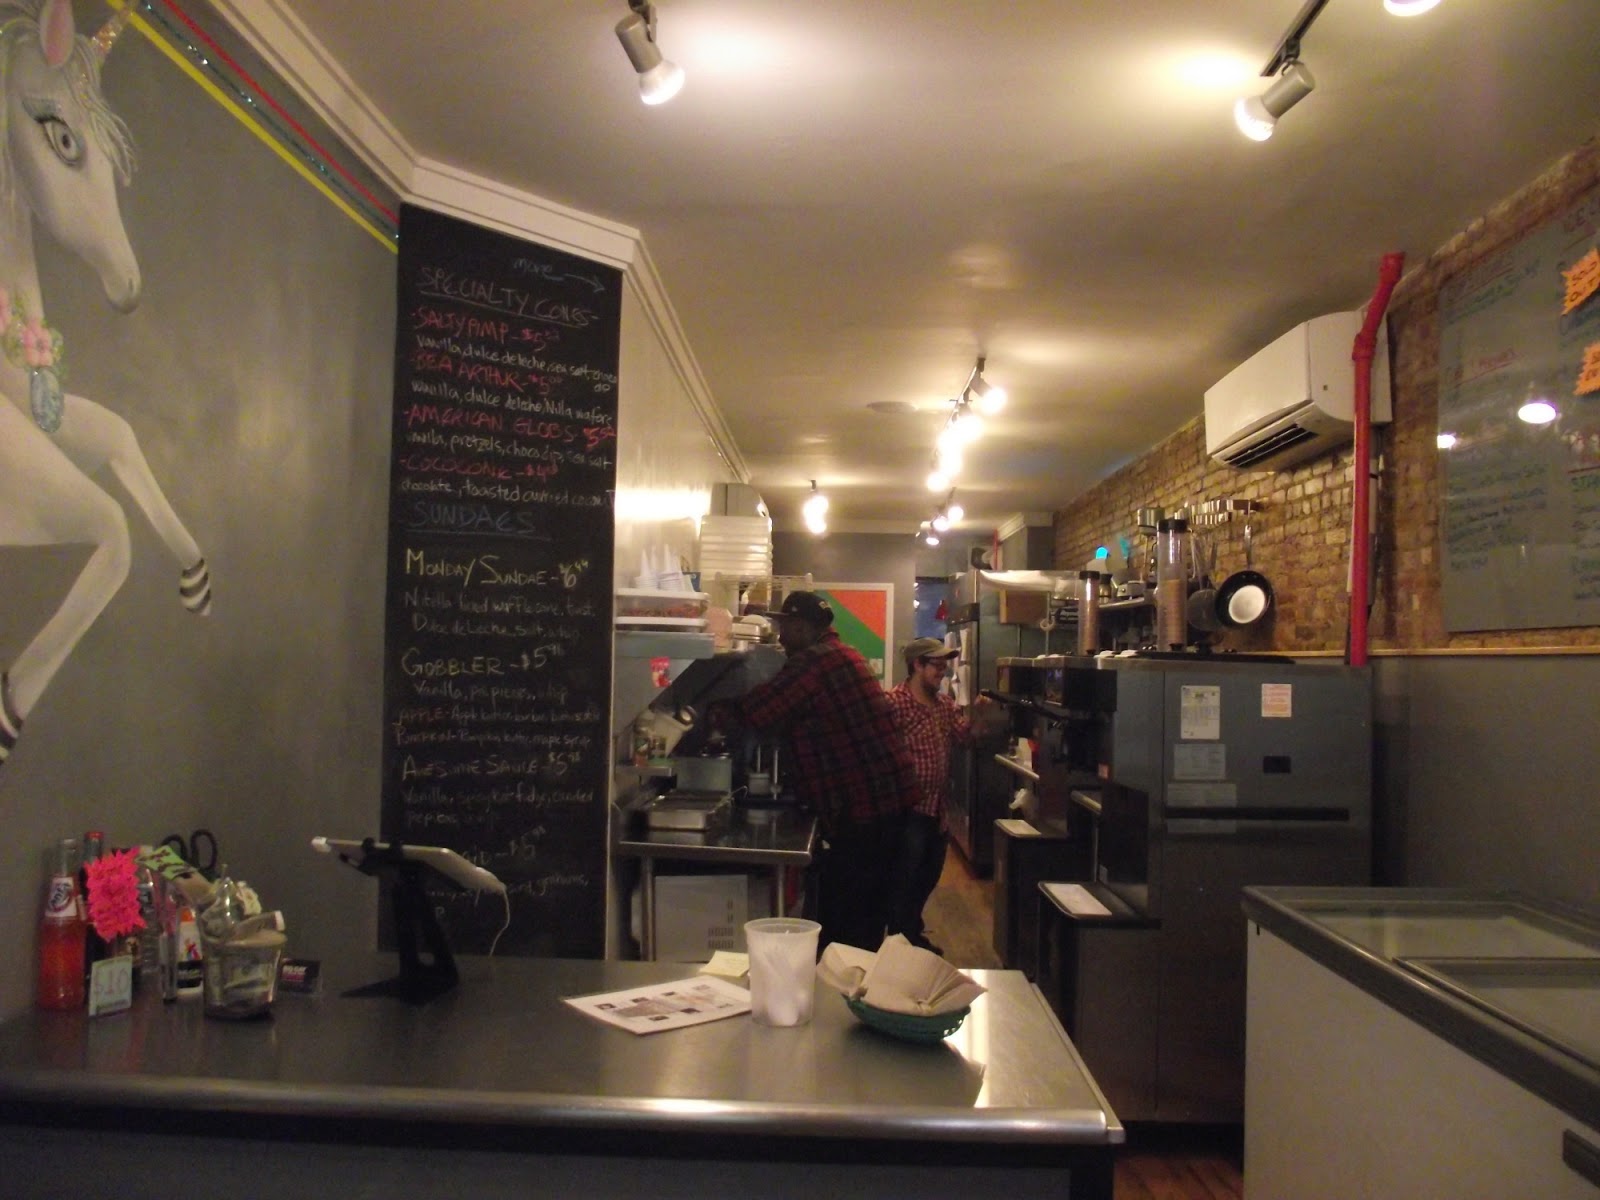
Manhattan. The store is fun, with unicorns on the wall, lovely staff (who told us they had another location now) and a
bench on the inside (well, it was that day) so we could plonk our bums and
enjoy their wares.
They have treats called things like a Bea Arthur, a Monday
Sundae, a Gobbler but arguably their most famous ice cream is called a Salty
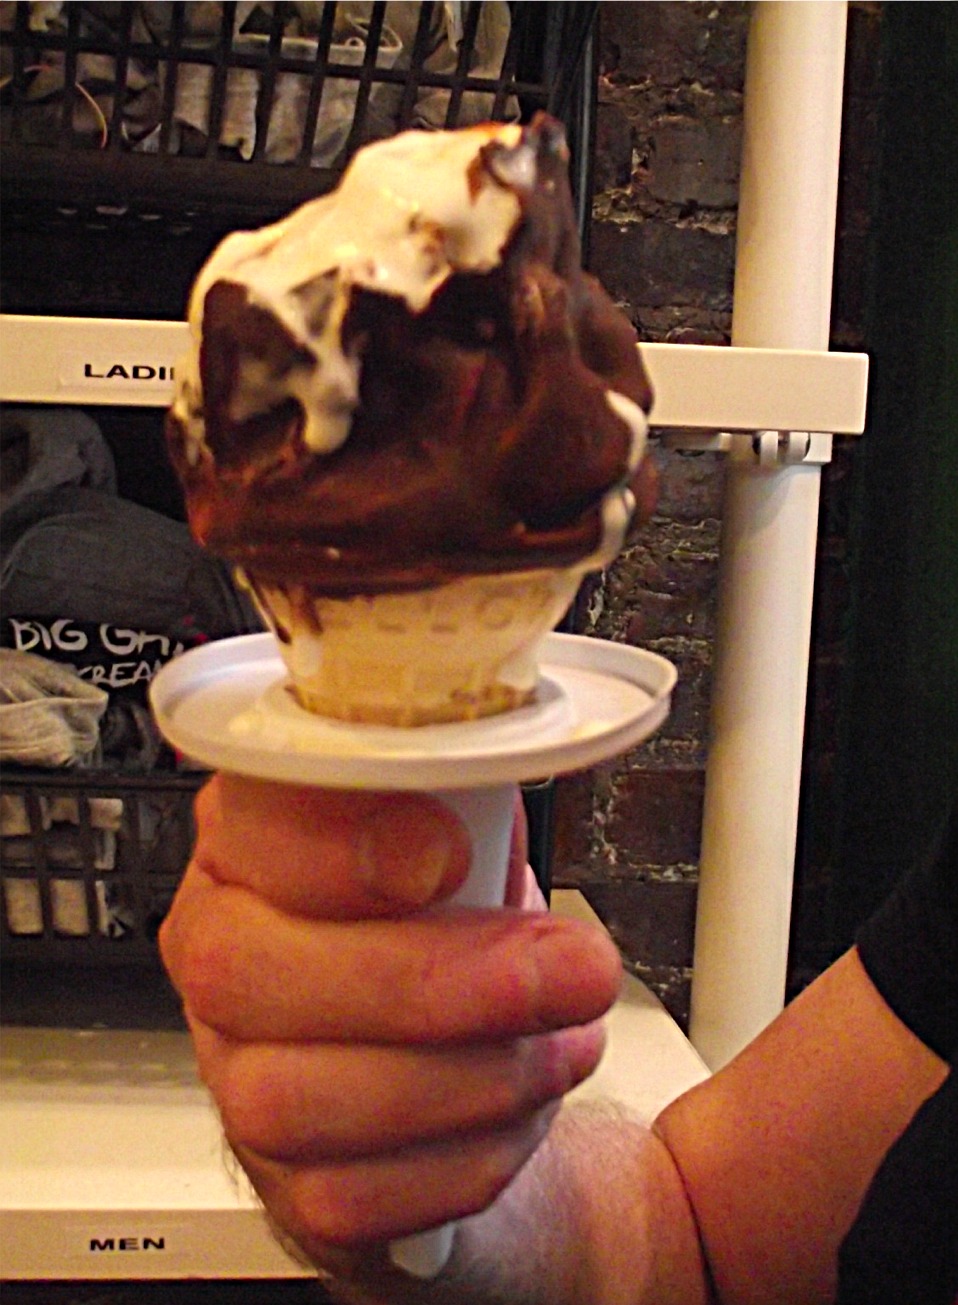
Pimp. This is a cone with soft serve ice cream swirled high, drizzled with
dulce de leche caramel, sprinkled with sea salt, then dipped into chocolate
which sets hard on top. If you are in New York, I urge you to try this! It was
heaven, even though we were exhausted and wet, not your typical frozen treat conditions.
The chocolate cracked as you bit
through to the soft ice cream. Your mouth was filled with the happy caramel
tones, before being hit by the sea salt twist. It was an amazing, amazing
treat. In fact, it has inspired me to make a cupcake based on those very flavours
that I will bring to you very soon.
Apologies for the quality of some of the pictures here – I
was a combination of tired, hungry and excited, so they went blurry. But please
go to the Big Gay Ice Cream website for a better visual of their frozen delights!
Wednesday, 26 June 2013
Subscribe to:
Posts (Atom)


